Introduction
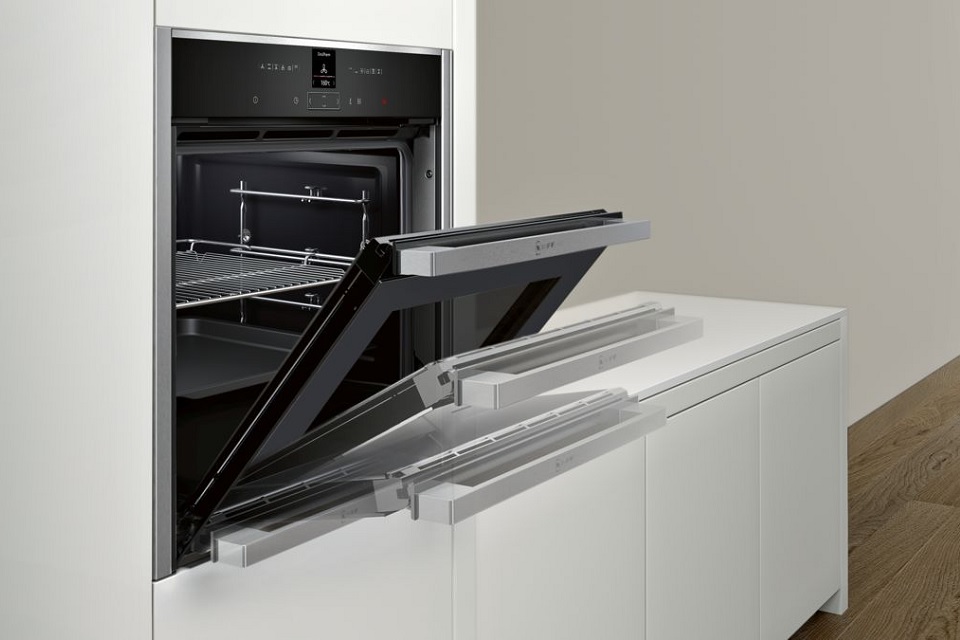
Perhaps the time has come to replace your old cooker, whether you want to switch out your old appliance for a new, modern look, or perhaps your old oven has gone to that electrical place in the sky.
Whatever the reason for your upgrade, you want to ensure that you know how to install an electric oven, correctly and more importantly, safely.
This article will talk you through step-by-step instructions on removing your old oven, right the way through to oven installation.
Whilst the process may seem short and simple, carrying out a professional electric cooker installation is not an easy task to undertake on your own. We want to make sure you are aware of legalities and safety issues before jumping straight in.
We hope that you will find this article useful. Please use our step-by-step guide to ease you through the process of installing your electric cooker, learning to avoid common pitfalls whilst minimising any risk of unsafely installing an appliance.
How to Install a Cooker Yourself
In this step by step guide we will be discussing everything involved in replacing a single electric oven. This should be a simple, straightforward process, providing your oven is a like for like replacement. Most single electric ovens are a standard width, which should allow them to fit in the same space, (560 mm).
Step 1:
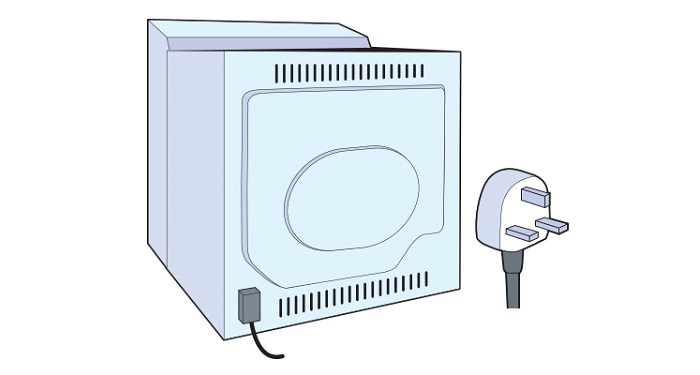
We would like to bring to your attention that most single electric ovens have a plug fitted to the end of the flex. However, some double ovens, which are larger in size, will require their own unique supply, and this will need hard wiring. Please contact a professional if you are unsure.
Step 2:
Firstly, you need to establish where the oven is plugged into. This could be directly behind the oven, to the side, or above or below. Depending on the position of your oven. Once you have found the socket, you will need to switch that off and unplug.
Step 3:
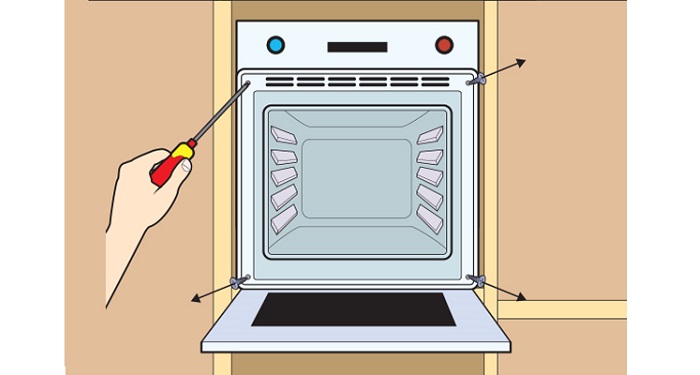
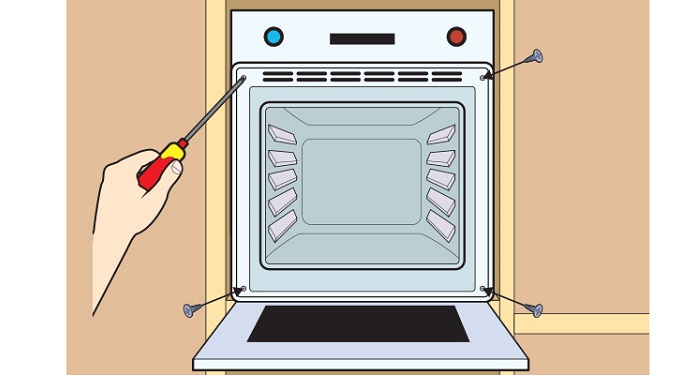
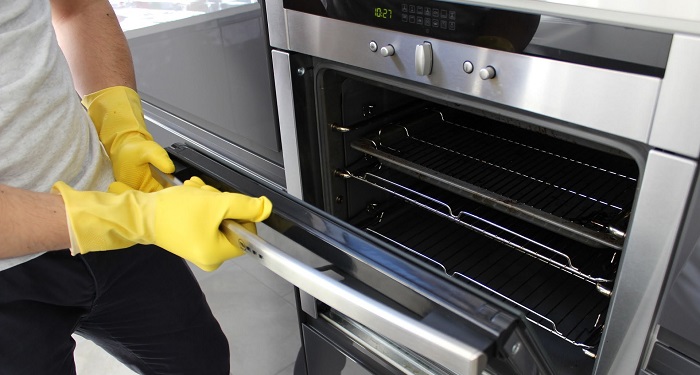
Now, open the oven door. You should see four/ two screws that hold the oven in place. Take your screwdriver and unscrew all the screws in the oven carcass.
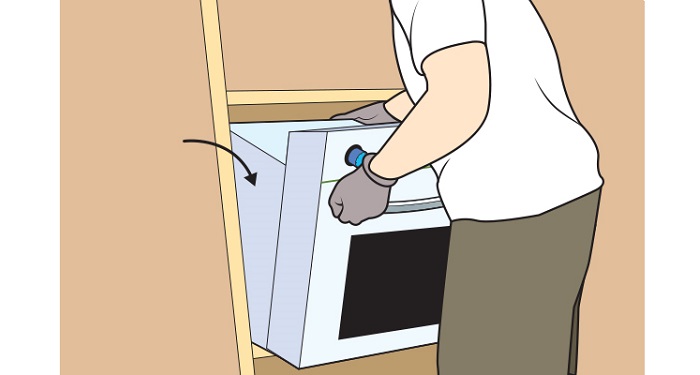
Step 4:
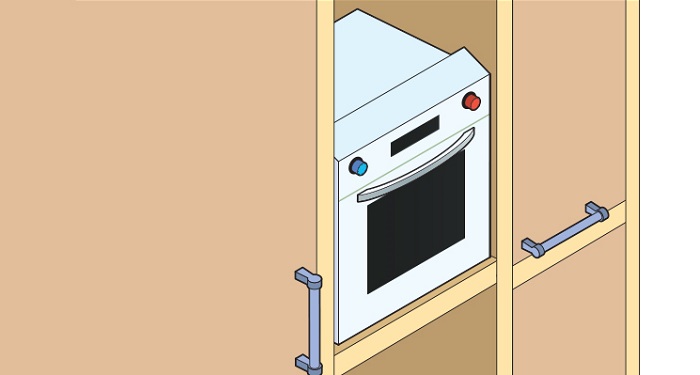
After the screws are removed, you will need to carefully remove the oven out of place. As ovens can be heavy, please get assistance with the step if needed. When removing the oven, please bear in mind the plug attached will need to be hanging free and not trapped between worktops or cupboards.
Step 5:
In this next step, you will be required to swap the plug from your old oven to your new oven.
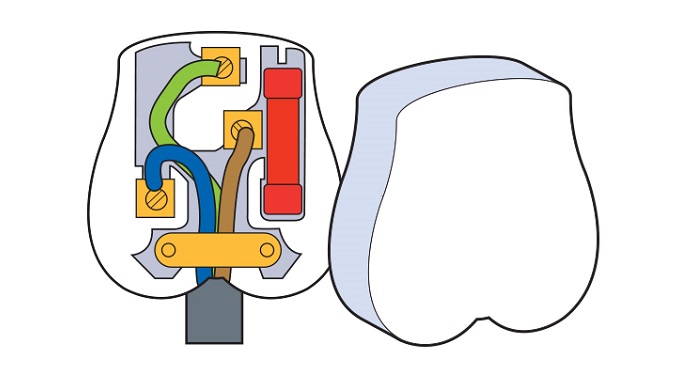
If you aren’t sure how to wire the plug, follow these steps:
Locate the terminal outlet box, this will be at the back of your appliance. Then unscrew the plate.
You will then need to connect the live wire (brown), the neutral wire (blue) and the earth wire (green/yellow). Wire these into the appropriate slots. The neutral wire goes to the left, the earth wire goes to the centre and the live wire goes to the right.
You will then need to tighten the screws, securing them into place, then place the plate back in place.
Step 6:
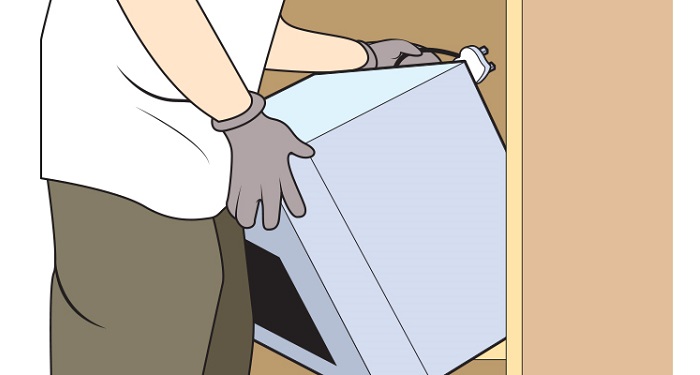
You can now take your new oven and place it in the correct position. Ensuring that you feed the cooker wire towards the plug socket. Don’t forget that you will need some assistance when lifting and installing the cooker as the weight can be heavy.
Take your time during this step and be cautious not to trap the electric cooker cable when it comes to putting your oven in position.
Step 7:
Open your new oven door, using your screwdriver fit the screws in the points and secure the oven into place.
Step 8:
After the oven is secure, you are now safe to plug in the electric oven into the wall and switch it on. Don’t forget to set the timer correctly on the settings. Please follow the manufacturer’s guide for your specific oven on how to set your oven up correctly.
Tools to Install a Cooker
We expect at this stage you will already have your chosen replacement oven, but you will also need the correct tools to allow you to complete the job successfully.
You will need the following tools to install a cooker:
- Screwdriver (Flat / Philips / Nut)
- Needle-Nose Pliers
- Old Towels
- Wire cutters/ pliers
- New 3-point Plug
Safety Equipment to Install a Cooker
It goes without saying that safety needs to be your top priority when removing and installing any electrical equipment. Although removing your oven and replacing it with a like for like model isn’t too difficult, you will be working with wiring, and this can come with its risks if you aren’t used to working with it.
Please remember that you could be seriously injured if you don’t follow instructions correctly.
We strongly advise that you check with an electrician if you feel uncertain during any stages of replacing your oven.
You will need the following safety equipment:
- Protective Gloves - Use these for moving the heavy oven.
- Protective shoes - Some cookers can be extremely heavy, wear toe capped protective shoes as a precaution.
Due to the weight of the cooker, we also advise that you have someone help you remove and lift the new cooker into place.
We also recommend reading the manufacturer's instructions and guidelines, always refer back to those if needed.
Materials to Install a Cooker
You will need the following materials in order to install a cooker:
- An electric cooker
- A thick towel/ protective sheet
In order to prepare for your cooker installation, it’s vital that you replace your current cooker with a like for like model. For example, both your old and newer appliances need to have an equal amount of power.
If it has a power of 3,000W (3kW) then it can be plugged in with a 13A fuse. Please bear this mind before purchasing your new appliance.
The thick towel or protective sheet is to protect your floor. When you remove your old cooker, you will need to lay it down on your floor. We advise you to protect your floor from any damage or scratches.
How to Prepare for Installing a Cooker
Before you install your cooker, you will need to ensure you prepare yourself for a smooth installation.
Firstly, you will need to ensure that there is plenty of space in your kitchen, this will allow you to remove your old oven and allow you ample space to manoeuvre your new cooker into place.
We advise that you remove any materials around the cooker and clean the area where the cooker will be positioned.
It’s vital that you turn off the supply of electricity to the switch. Firstly, do this at the plug. Then ensure that you turn the supply off at the mains. This will protect you when you are wiring the cooker. You can turn this back on after the new cooker has safely been installed.
Cooker Maintenance
Your cooker will need frequent cleaning, as it will be used frequently. Besides cleaning, your oven will require maintenance from time to time.
We recommend checking the seal on the door, as it can deteriorate over time which results in heat loss.
Do avoid slamming the door, as this can cause damage, or even shatter glass.
Your new oven will have an interior light, and this can need replacing at some point. Replacing the bulb is a simple task, but you will need to consort with your cooker manual beforehand as each oven model is different.
When cleaning or maintaining your oven, it’s crucial that you carry out these tasks when the oven is off and cold.
If you have a hob on your electric oven, this will only require a routine clean. If you should get any spills, we suggest cleaning these off as soon as possible, but wait for the hob to cool first.
You can find a suitable oven cleaner and sprays in your local store. We recommend cleaning the inside of your cooker, which includes your oven racks every 6 months.
This is to be used as a guide, if you use your oven more frequently grease and dirt can build up faster, which will require more frequent cleaning.
Removing an Old Cooker
Before removing your old cooker unit, you should ensure the power supply has been turned off. You don’t want to risk any flow of electricity being present in the cooker cable, as it can cause harm and potential electrocution.
To do this firstly locate the main oven switch at the socket. Then switch your oven off at the mains. You want to ensure the main switches are correctly labelled. If you want that extra comfort, turn off all the mains whilst you remove the oven.
Turn on the oven, to double check that your oven has been safety switched off.
You should have already located the plug. So, it’s now time to pull the oven cable from the socket.
Then open the oven door. You should identify the screws; these will be located in the corners of the oven carcass. Take your screwdriver and remove all of the screws.
To make the ones easier to remove, you might consider taking your oven door off. This makes the oven lighter to lift and can allow you to ease the old oven out of its current area.
Carefully slide the oven out of its position. Get someone to help you with this step, as ovens can be very heavy to lift and manoeuvre. Don’t forget to wear protective gloves and footwear to ensure your safety.
Your oven should now safely be removed, and you are now able to begin with your new oven installation.
FAQs
Q: What is a range cooker?
A: A range cooker is a combination of an oven and a hob in one freestanding appliance. It is typically larger than a standalone integrated oven. They have features such as two ovens, separate grill, storage compartments and warming drawers.
They come with a wide variety of cooking settings such as a pizza setting. This is no cheap electric cooker, so be prepared to pay for its multifunctional uses.
Q: What is an induction cooker?
A: Induction hobs are unique in their use. The hob rings have been designed to directly heat a pan when placed on the hob. Whereas a normal eutectic hob has been designed for the hob ring to heat up when activated by a control.
If you place a pan on an induction hob, a magnetic field under the surface is activated. These cookers are highly advantageous, for speed, responsiveness and are energy efficient.
Q: How long does it take to install an electric cooker?
A: It can take anything from 1-2 hours to install an electric cooker. It’s important that you are replacing your cooker with a like for like model. If your cooker isn’t like for like an electrician will need to be called.
Q: What is the standard size of a cooker?
A: There are usually three standard widths of a cooker; 50cm, 55cm and 60cm. Single ovens are around 60cm, and double ovens range from 70-90cm. Compact ovens are around the size of a large microwave, and these usually range about 45 cm tall.
Q: Can a 13-amp oven be plugged in?
A: If your oven comes with a 13A plug, then no wall wiring is required. You are free to plug it in. If your oven is under 2.9kW, it can be fitted with a 13A plug, but check to see if the manufacturer’s instructions state otherwise.
Sources
- https://www.which.co.uk/reviews/built-in-ovens/article/installing-cookers-and-hobs
- https://dengarden.com/home-improvement/Wiring-a-UK-Plug
- https://www.serviceforce.co.uk/appliance-maintenance/oven-hob-maintenance/
- https://www.appliancecity.co.uk/cooking/range-cookers/what-is-a-range-cooker/
- https://www.cookersandovens.co.uk/blog/what-is-induction//a>