Introduction
There are several types of plaster out there, all of which have different applications and mixing techniques. So, if you are into building and construction, art, or even medicine, you will find this article to be very helpful, as we will take a look at the variety of plasters on offer, along with everything you need to know about them. Consequently, it is believed that by the end of this, you’ll be able to decipher all the different types of plasters to efficiently carry out the tasks at end.
What is Plaster?
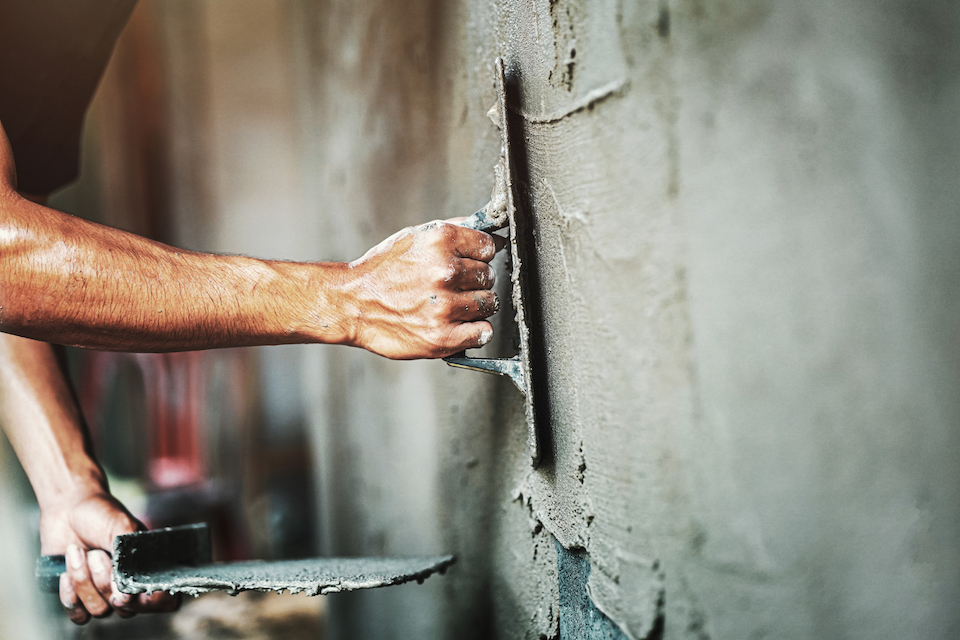
This is a fundamental question that is necessary to understand the nature of the subject matter. When we hear the word plaster, we often think of a mortar, levelling bar, trowel and lots of dirt. In the meantime, plaster has become a generic term that covers everything that can be put on the wall, from 20 mm lime-cement base plaster to 3 mm clay filler. Simply put, it is a building material that is used to coat and protect internal walls and ceilings, and in some cases, is even used on outdoor walls.
Interestingly, the art of plastering has been around for ages, with civilizations as old as the Egyptians using it. Nowadays, it isn’t used as much as a decorative tool but is ever-present in modern homes.
Exploring Different Types of Plaster
As mentioned earlier, there are a myriad of plasters available, all of which are used for various purposes. Here, we will provide a detailed outline of each one, as well things to pay attention to. They include;
Browning plaster

This is an undercoat plaster used as a base for paint and other decorative endeavours. It is very similar to bonding plaster but is most useful with more absorbent surfaces. Furthermore, they can be used to ‘build up’ walls and are very useful in construction. That said, most builders apply browning plaster at about 8mm thickness for ceilings and 11mm thickness for walls.
Subsequently, a finish coat is added to proceedings before anything else is done to the walls. Meanwhile, the drying time for browning plaster is dependent on the weather and the season, but to be safe, most experts and enthusiasts will advise you to leave it for a day or so before coming back to work on it.
Bonding plaster

Similar to browning plaster, bonding plaster is also considered as an undercoat on which other things are added. However, due to its versatility, it is more popular for building as it has an awe-inspiring sticking ability. Therefore, it is generally used on all sorts of surfaces, even engineering blocks, and concrete. Also, it doesn’t depend on the absorption levels of a surface to be effective, which makes it the ideal wall plaster. And just like browning plaster, bonding is usually applied at 8mm for ceilings and 11mm for walls.
As mentioned earlier, it is an undercoat plaster, which means it is the first coat to be applied to a newly patched wall. Consequently, when it is levelled off, it is marked with a nail to provide a ‘key’ for the topcoat to follow.
Thistle plaster

Next up is thistle plaster; which, as opposed to bonding and browning, is a finish coat, which means it comes up at the end of the plastering process. It is one of the most popular types of finish plasters, as it is very versatile and convenient to use. Hence, it is favoured for small repair jobs and other common tasks that require plaster.
Speaking of versatility, thistle plaster can be used on plasterboard, or as part of a two-coat system. Also, it can be applied by hand or with a mechanical tool, which adds to its appeal. Another reason for its widespread popularity is its quality, as it does a great job and provides you with a smooth surface on which you can apply various decorative finishes.
Carlite plaster

Just like with thistle plaster, carlite is also a finish coat that is usually used on top of a background. Also, carlite plaster is versatile and can be used on a variety of surfaces, after which you can then add decorative finishes.
However, the main difference between carlite and thistle is the setting time with the former taking about three hours to set while the latter is much faster and takes just about half the time to set. Thus, thistle is generally more popular, but carlite is also pretty decent when it comes to durability. So, carlite is scratch resistant and typically has a strong impact.
Hardwall plaster

Hardwall plaster is an undercoat plaster that is most commonly used with masonry backgrounds like bricks and medium-density blocks. Just like the other undercoat plasters we’ve spoken about, hardwall is an ideal base to work with; more so, its easy application is one of the reasons it is so popular. That said, it is advised that you use hardwall on structures in good condition as a poor or crumbling wall could cause the plaster to crack.
Dri-coat plaster

Dri-coat plaster is a little different from the others as it is used for re-plastering after installation of a new damp-proof course (DPC.) Also, dri-coat plaster prevents the movement of hygroscopic salts from the background to the surface. This is an essential function as hygroscopic salts tend to absorb atmospheric moisture, which can lead to damp walls. Therefore, dri-coat plaster helps to protect walls and keep them in pristine condition.
That said, dri-coat isn’t recommended on frozen backgrounds as this affects its efficiency. Similarly, it does precious little to reduce the spread the effect of fire, and for this reason, it is advised that you ensure that the plaster isn’t exposed to extreme temperatures.
One Coat plaster

Unlike the other plasters discussed in this article that fall broadly within the category or undercoat, or finish plasters, one coat plasters are something of a swiss army knife. This means that it can act as both an undercoat and a finish. Therefore, it is a very popular plaster variant as it contains fewer steps and is incredibly easy to use. More so, consisting of the traditional gypsum material, one coat plaster possesses a thicker consistency, which enables it to work with thicker layers than other variants.
Additionally, it is easy to apply and can be done by hand or with the help of mechanical tools. Moreover, one coat plaster saves a lot of time as it doesn’t require a scratch coat or any other step before use. Lastly, one coat is usually used for repair jobs as it is a lot easier to get a smooth finish over smaller areas.
Tough coat plaster

It is an undercoat plaster which, as the name implies, is very tough and can take on conditions that other types of plaster just can’t handle. For example, it provides some protection from fire, and while it isn’t advised to use it on frozen walls, it can still do a decent job. On top of that, it possesses strong impact resistance and is a great base for masonry backgrounds.
What is a Plaster Undercoat?
Imagine you’re an artist and you want to paint your masterpiece, what are the tools you’ll need? What are the steps you’ll take first? Generally, an artist will secure brushes and paint, but most importantly, the canvas on which the painting will be showcased must be secured. With that in mind, think of an undercoat as a canvas on top of which you can create some pretty unique designs for your walls or other surfaces.
Hence, undercoats are the base on which everything else is built, and they are so important because of this function. Therefore, the mixing and application of an undercoat is crucial and needs to be done right. This is because, if the mix is wrong, or it isn’t applied properly, everything else built on top of it will also be defective. With that said, mixing an undercoat isn’t too tricky, and with the help of a mixing drill, you can get the right consistency.
As with other mixing techniques, you should mix several batches before settling on the one you want. There are several types of undercoat plasters, some of which we’ve examined, including, browning, bonding, and tough coat plaster. Furthermore, you need to note that plastering over large areas isn’t easy, which is why experts advise that you section the wall into bits and take it one step at a time. This is to ensure that the plaster is evenly applied and isn’t rough. Once you get the undercoat right, you are ready to move on, and you can be sure of a smooth wall when you are done.
What is a Plaster Topcoat?

Using the illustration above, if the undercoat is the canvas that you draw on, the topcoat is the painting itself, and it is the final layer of coating necessary before you paint over the wall. Due to this, the mix is usually smoother than undercoats, and it features more water than the others. So, in a three-coat system, the topcoat, otherwise known as the finish coat, goes on after the scratch and undercoat.
In addition, it is necessary to mix the topcoat properly as it affects the smoothness of the wall. Also, of note is that due to its composition, finish coats need to be mixed correctly, and it is preferable to mix manually than to make use of mechanical tools. Besides, topcoats dry up a lot faster than undercoats, and it is for this reason that mixing them can be tricky as once it dries up, it has to be thrown away and can’t be used anymore.
Examples of topcoats include dri-coat, thistle, and carlite plaster. More so, one coat plaster can be added to this list as it can serve as both and is an excellent option for small repair jobs.
How Much Does a Plasterer Cost?
So, we’ve looked at all the types of plaster available and how you can mix them, but do you really want to do all that yourself? If you are a DIY enthusiast, then you can buy all the necessary tools and get to work. But, if you are unsure of how to proceed or really can’t be bothered with all the steps, then you need a professional. So, how much does it cost to plaster a room?
Also, how much does it cost to engage a plasterer? While the question itself is simple, the answer isn’t as straightforward as there are several factors to consider before hiring a professional. For example, the location of the job, the size, and the type of work are all things that factor into the overall price. But we can look at some of the average rates that plasterers charge.
Average rates
The most common jobs that you can engage a plasterer over is to plaster, or re-plaster a room or a house. For the latter, a small room can cost anything from £200 to £380 and can be done in a day. However, if the room is of medium or large size, the cost goes up and can be anything from £450 to £670, and it’ll take more than a day to complete.
That said, plastering the room from scratch is even more expensive, and the cost of a small room is usually between £550 and £650. Similarly, for larger sized rooms, the price also goes up but is generally between £500 and £900. Additionally, since the plastering is being done from scratch, it is bound to take longer and is usually between 2-4 days.
Meanwhile, if you want to plaster a ceiling, it usually costs less as it isn’t as big as a wall or room. So, for a small ceiling, you can get a plasterer for £150, and it can be ready in under 12 hours. Unsurprisingly, larger ceilings cost more and are anywhere between £250 and £700.
With all of that said, sometimes plasterers are paid per square foot, and in such cases, you will be quoted anything from £2 to £10 per square foot.
So, is it better to just roll up your sleeves, or should you leave it to the professionals? Well, unless you are very confident in your skills or you have prior experience, it might be better for you to get a professional. They have more experience with the job and are more likely to give your wall a proper treatment than you can. Furthermore, if you use the right channels, most plasterers are insured, which means you have some guarantee of a decent job. On top of that, if you make mistakes in the plastering job, it might not be noticed until much later when it will cost much more to fix. And lastly, professionals are more likely to have the right tools for the job and are better equipped to use them.
That said, it doesn’t mean there aren’t some jobs you can undertake by yourself, but if it’s a big task, then it is better to hand it over to the professionals.
FAQs
Q: How long does plaster take to dry?
A: The time it takes for plaster to dry varies from one type to the other. For instance, browning plaster can set within two to three hours, but it is always advised that you wait a while before painting over it. Hence, many professionals reckon that topcoat plaster takes about two to three days to completely dry, while undercoat plasters take up to a week before they are ready.
So, while you might be chomping at the bit to get to painting, you’ll need to be patient to get the best results, which means you might need to wait for as long as necessary before painting over new plaster. This gives the plaster enough time to dry properly and ensure that there aren’t any dark patches on the wall.
Q: What is lime plaster?
A: Lime plaster is another variant that is made using sand, water, and lime. It has been used by artists, builders and has been in use even as far back as ancient times. This is evident with discoveries of lime plaster in such prestigious buildings like pyramid chambers and an archaeological site in modern-day Jordan.
Furthermore, lime plaster has some advantages, including its flexibility and durability, as it was known to shield softer materials from shear stresses. Besides, the elevated pH levels in the lime plaster made it a natural fungicide, which means that you could hardly find stuff like mould on the walls. On the other hand, hydraulic lime is pretty toxic when wet and could constitute a health hazard.
Q: What is skimming
A: Skimming is a plastering term used for a method that involves smoothing the wall with a thin layer of plaster. It is usually employed to smooth an already plastered area and is, therefore, a very tricky job. So, it is always advised that you engage a professional as doing it yourself could leave the area looking even worse than before.
While skimming shares some similarities with plastering, such as their shared use for decorating and protecting walls, they are also decidedly different. For one, skimming is used to update a building and give it a fresh look, while plastering is done with new buildings that are just being constructed. Additionally, skimmed surface areas are smoother than plastered ones.
Q: How messy is plastering?
A: While the results are usually glorious, plastering is one of the messiest jobs out there, and you should know this before embarking on it. If you want to DIY, then ensure that you clear the room of all furniture and other fixtures as there will be a lot of dust hanging around. Also, it is advised that you mix the plaster in an open-air area, so you don’t inhale too much dust.
However, if the mixing must be done indoors, ensure that you open up all the doors and windows. On the other hand, if you decide to engage a professional, also ensure that you clear out the room, not only to ensure that your furniture isn’t stained but also to create enough space for the plasterer to move freely and with ease. Apart from that, most professional plasterer services will come with building paper and dust sheets to ensure that they do their part in keeping your home as clean as possible considering the situation.
Q: Can I plaster over my wallpaper
A: The answer to this is no. If you want to re-plaster a wall with wallpaper over it, it is best to take off the wallpaper before setting to work or before the professional arrives. This is necessary because the plaster needs to stick to the wall, and the presence of a wallpaper compromises this. Also, once you have your plaster installed, you’ll need to wait a bit before painting on it, and it is even advised that you seal the wall with the help of a mist coat, which works to prevent suction on some paints. See here for more information on what you can plaster over.
So, with all of that said, you should have no problem with your next renovation as you have all the information and tools you need to do it yourself or at the very least be aware of what a plasterer is doing to your walls.

