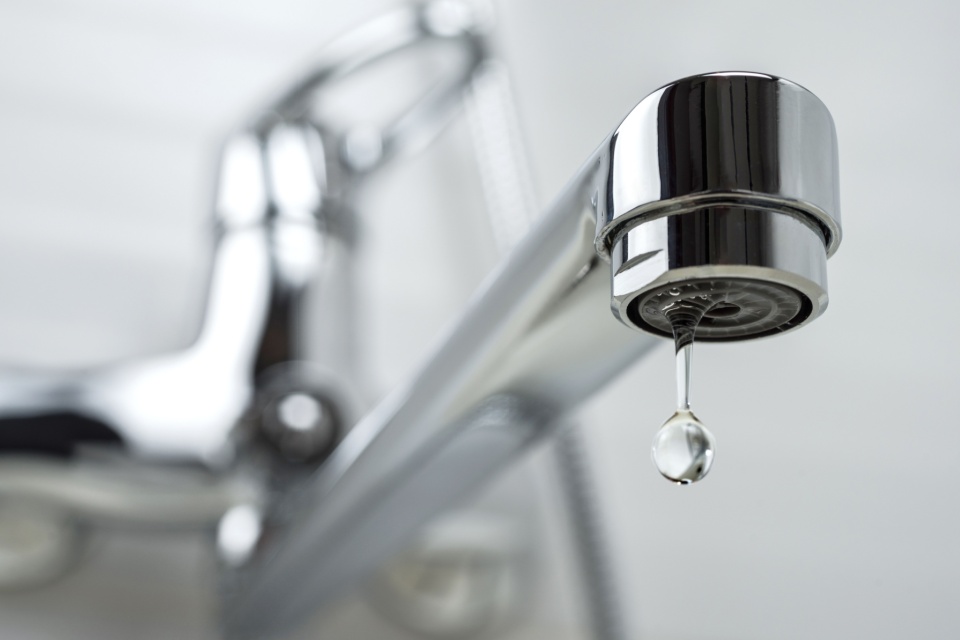
How to Stop a Dripping Tap
Every home makes use of taps, for varying reasons. From kitchens to bathrooms and even garages, taps evade our space as a means of providing us with water whenever it is needed, for whatever the purpose.
With taps being a necessity in every home, any damage related to them tends to take a massive toll on the house. For example, leaky faucets don't only result in water waste, but they are also very costly to repair, and can subsequently harm the environment.
That said, dripping taps are a regular occurrence and are often caused by varying factors, some of which are easy to identify and others somewhat tough to spot.
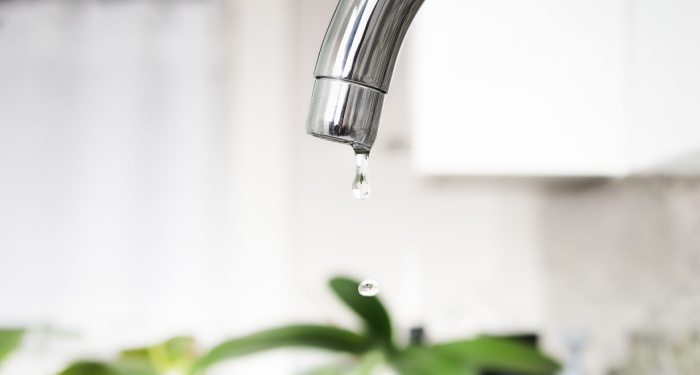
No doubt, when taps drip consistently, it results in wastage of both water and money, which is why you must be well equipped beforehand to rectify the situation before it becomes a major plumbing issue.
This article offers further information to stop dripping tap, and also provides further insight on why a tap might be dripping, how to know if it's dripping, and step-by-step lessons to fix dripping tap. Whether you are a tradesperson or general homeowner, you will find the best tap fixing solutions as well as the flat rates charged by most plumbers in the UK.
More so, if you're DIY savvy, you will love these tips, as most are pretty easy to emulate. For more the intricate fixing procedures, you will likely need the help of a professional.
Why is My Tap Dripping?
Taps, like every other item in our homes, go through different issues, based on not only their brand, but also the pressure applied to them, and the quantity of water they provide for you and your family per day. All these factors contribute to the problems that might arise when using taps very early on in their use or later.
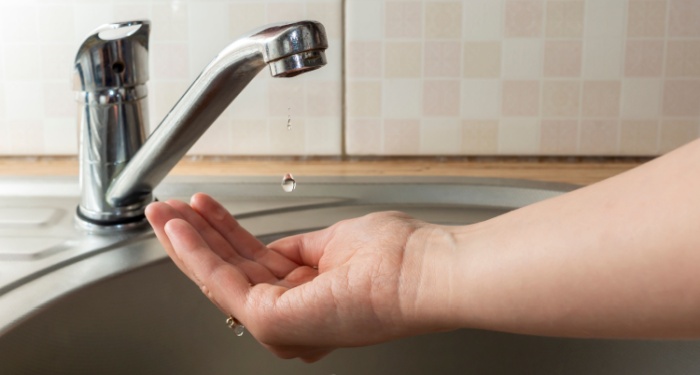
According to experts, there are many ways that your tap can be damaged and start dripping. Some require a simple cleaning mechanism, while others demand a change of one part or the other.
Some of the significant causes of taps dripping include a scratched ceramic disc, which is characteristic of modern taps, worn-out washer, dirt in the cartridge, a corroded valve seat, amongst others. Below, we describe each occurrence and the signs that they exhibit.
Worn Out Washer
The most common reason why many of us experience dripping and leaking taps, in a home or commercial space, is due to a worn-out washer. The wearing out of your washer is inevitable since it is constant contact with your valve seat.
Every time you switch on your tap, the washer installed comes into contact with your taps valve seat. It does this with a pressure that causes wear and tears over time, depending on how often the tap is operated. The result of this wear and tear is a continually dripping tap or a leaking spout.
Additionally, a worn-out washer is a significant sign when your tap is continuously noisy or is challenging to turn on or off. More so, the leakage of a faucet is yet another sign that your washer is worn out and needs to be changed.
Scratched Ceramic Discs
The second most common cause of a dripping tap falls on the scratching of your ceramic discs. Inside every ceramic disc tap lies a cartridge that contains a pair of ceramic discs. The first disc rotates along with your tap handle when the tap is set in motion, while the other is built to remain fixed continuously.
On both ceramic discs, you will find two distinct holes that aid in the movement of your tap and the flow of water. Once the tap is set in motion, the moving disc begins a rotation that moves it on top of the constant disc. It is only through this hole that water is allowed to flow through.
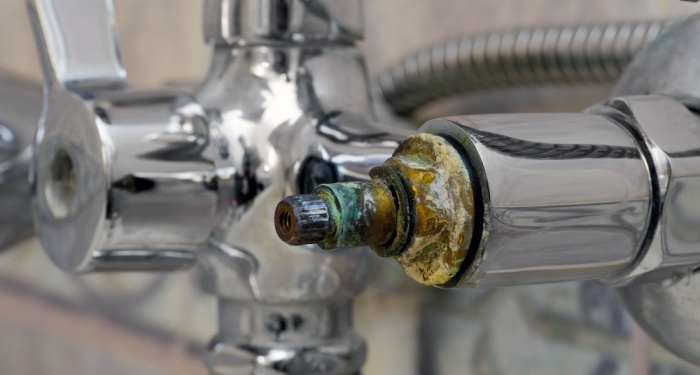
When the holes aren't aligned, there's no way water will flow out of your tank. Worse yet, a scratch on any of these discs can cause a misalignment, which means a little space will be left available for drops of water to seep through, and out of your spout.
For this cause of water leakage, you will notice that the leakage if your tap isn't from the spout but instead from is joint or side. This is a clear indicator that your ceramic discs are either dirty or heavily scratched and need some repairs.
Replacement Tap Cartridge
Most modern ceramic taps come with what is known as a disc technology. If you have such taps installed at home, there's a higher probability of being subjected to fewer leaks, since the disc technology mentioned works to eliminate any potential threat to your tap.
However, if you manage to experience drips and leaks still, the issue might be from your tap cartridge; it might be worn out or old. To rectify any situation that can occur, you will need to fix a new rap cartridge.
If you're unable to adjust your water temperature and have hot water running when the cold water knob is turned on, you might want to take a look at your tap cartridges. These are signs that they are in need of repairs.
Dirt in Cartridge
It might be hard to believe, but it is possible to experience problems related to leakages and drips as early as weeks after you install a new tap. This is normal in most homes because of dirt in their water supply.
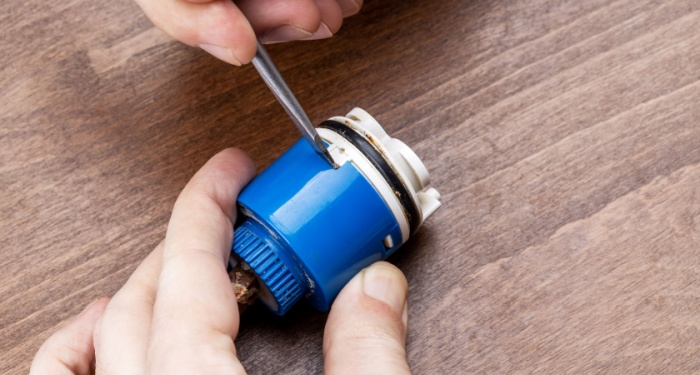
The presence of dirt in your water can lead to the development of scratches on your cartridge, responsible for free water flow. This then destroys your taps interior workings, leaving you with drips and leaks all day long.
For dirty cartridges in your faucet, you will notice that your water has some particles within it or some sound coming from within your pipes. The leaking itself can be an indicator of a dirty tap cartridge, too, so bear this in mind.
Corroded Valve Seat
A valve seat in taps is located under your tap valve. This seating is created by tap designers to enable your tap to have a watertight seal whenever it is not in operation. Even though the most common cause of a dripping tap is the worn our washer, we advise that your first step is to check your valve seat and see if it's still in good condition.
This advice is given primarily to those with older taps. The older your tap, the more likely your valve seat is to corrode, affecting the effectiveness of your tap. When the valve seat erodes, it becomes weak and allows drops of water to move out of the spout.
The first sign of a corroded valve seat is usually a leaking or dripping faucet. Sometimes, you might find some rust particles inside your water, which gives you a clear indication of the issue.
Loose or Damaged O-ring
When experiencing a leak, it is best to check where exactly it is originating from. That said, the most common place where taps leak is at their spout. In rare situations, some leaks originate from the joint of the boy, sometimes close to the spout or the handle.
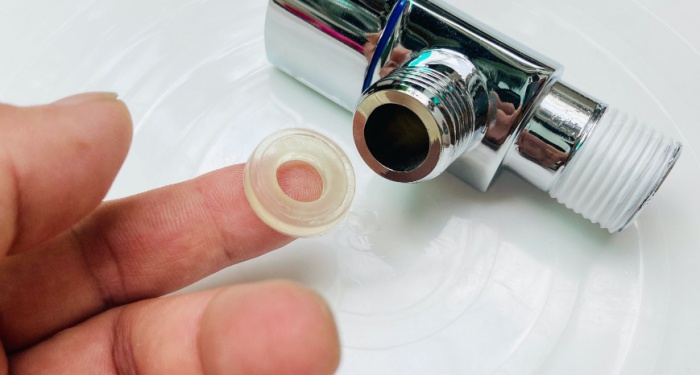
If you find the leakage in any these mentioned areas, the cause is easy to identify and will likely be coming from a loose or damaged spout O-ring. The O-ring is usually located at the base of the tap spout and helps keep the spout in place and prevents drips and leakages from occurring.
To identify if the O-ring is damaged or not, sturdy your faucet for leakages. If leakage is spotted, this signifies faulty or-rings. Another way to tell if there's a leakage is when the faucet is used for the first time. If its jerks or shakes, then it is possible that the O-rings weren't installed properly.
How to Fix a Dripping Tap?
Tap drips occur on the two major types of taps; the monobloc lever models and traditional models. The latter is usually caused by the deterioration of an internal washer or rubber seal. For monobloc taps, it could be that the ceramic cartridges need a change.
Regardless of the cause, there is a general solution to stop a dripping tap, which is pretty straightforward even for those with limited DIY knowledge. More so, it can be done within a few minutes. You will need;
- an adjustable spanner
- a cross-head screwdriver or a slot
- assorted washers or a replacement cartridge
Firstly, ensure that your tap is turned off at the stop cock or the isolation valve. These valves are typically placed beneath your sink on the supply pipes. After turning the valves off, turn on your tap one last time, to ensure that any water left is appropriately released.
The next step is to search for the screw holding the valve together. This screw is found on top of the handle, hiding under the decorative cap we turn to open our taps. This is where the adjustable spanner might come in handy.
Next, remove both the screw and use the adjustable spanner to unscrew the tap spindle holding the tap spout in place. Doing this will prevent the pipes below from bending or twisting while you change the washer. Now you can fix your washer, reassemble the tap and then turn on your isolation valve to allow the free flow of water.
Here are a few other ways to stop tap dripping.
Worn Out Washer
Fixing or replacing a washer in your tap doesn't take too long. You will need a screwdriver to prise off the washer as a first step. It is usually attached via a small nut, which is what the screwdriver will be used to unscrew. If the screw proves difficult, it might be rusted or corroded; thus, you will need some penetrating oil soaked in for easy removal.
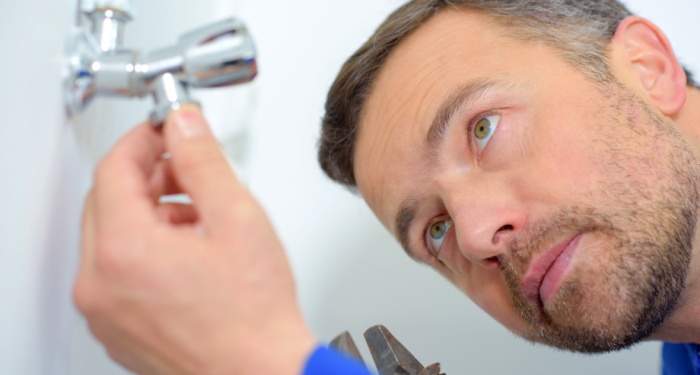
When ready, you can then fix the washer in either one of the following two ways; fixing the washer alone or fixing it alongside the jumper valve. Regardless of the method, you opt for; you need to grease the base of your tap after the fitting is completed, before reassembling all parts. A product like Vaseline will suffice, but you can also get silicone gel from professional plumbing shops, just to be sure.
Scratched Ceramic Discs
To fix a dripping tap caused by a scratched ceramic disc, the first step is to turn off your water supply. After pulling off the tap handles, unscrew the headgear section with a spanner, and then carefully remove both cartridges.
During the removal process, be mindful of which one is for hot and which one is for cold. Analyse the two cartridges carefully, looking out for which one has scratches, dirt, or damages.
Replace all the parts that are too old for operation or have become weak with constant use, then put both cartridges back according to their hot and cold labelling. If the cartridges were merely dirty, you can clean them and use them again. Clean them with a damp cloth, and fit both into their appropriate places.
Replacement Tap Cartridge
Just like the previous two processes, to fix a dripping tap caused by a replacement cartridge, ensure all water supply has been cut off at the mains. Dislocate the isolation valve before you move any further; otherwise, you risk contaminating your water. Once the pipes are totally clear, block the sink by securing the plug into its hole and get to work.
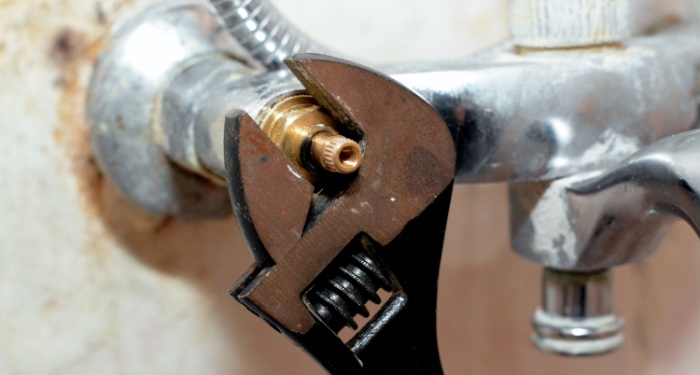
What's more, to help make reassembling easy, you can lay all the removed components out in the other in which they were taken out. First, start by removing the tap handles. This can be done by moving the cap top or by simply unscrewing them out of place.
Next, remove the handles and valve cover which are removed using adjustable spanners. Now, take off the cartridges carefully, and check for damages or dirt. If it's only dirt, cleaning is the best solution. Any damage will require a replacement of the cartridges, so you must find identical parts for smooth operation.
After the replacement process is completed, you can then reassemble your tap and turn on the isolation valve.
Dirt in Cartridge
To clean dirt in your ceramic cartridges, you will need;
- A toothbrush
- A container or bowl
- Vinegar
- Adjustable spanner
- Flathead screwdriver
- Clean cloth
In the container, create a mixture of warm water and vinegar for the cleaning process. Turn off the tap entirely and allow all excess water to drip into the sink, before removing the head of your tap.
Remove the tap cartridge and place it into your water-vinegar mixture, leaving it to sit for up to ten minutes for the thorough removal of all limescale. To remove limescale faster, you can add more vinegar, soak the cloth for cleaning in the mixture, and wrap it around both cartridges. This will quicken the limescale removal process and leave you with clean cartridge surfaces that can be used for another couple of months.
What's more, the toothbrush comes in handy to help break down the limescale. Use this gently on the cartridges, before wiping them down with the clean cloth. After cleaning the cartridges, place them back in their appropriate places, screw the tap head back on and turn on the water supply.
Corroded Valve Seat
You've checked the valve seat inside the tap body, and you've seen corrosion. This means a change is necessary if you want to eliminate the dripping that's costing you gallons of water. Your best bet when repairing this valve seat is to repair it alongside the washer.
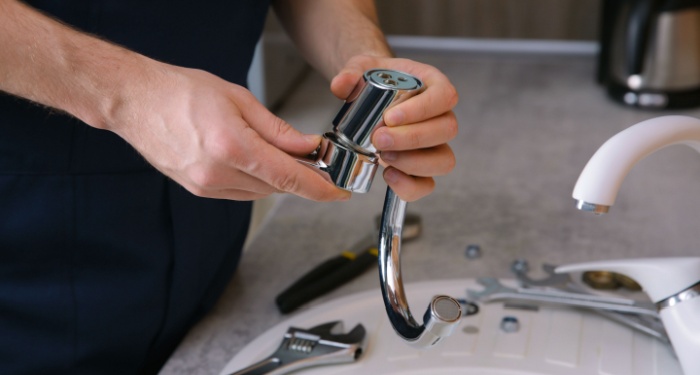
You will find the combined washer and seating set in all hardware stores. After turning the tap off, fix the plastic valve seating into position, ensuring that its firm. For a watertight seal, you will have to use your tap for a couple of days.
Trying to repair a corroded valve seating is of no use since it doesn't yield any profitable results. It is best to replace the seating totally, to prevent any significant issues from ensuing.
Loose or Damaged O-Ring
If loose or damaged o-rings cause a dripping tap, here's what you can do.
First, use a spanner to unwind the body of the tap. Then, check the base of the tap, and you will find a body washer. Remove this washer and then pull out the jumper valve installed within. This exposes the o-ring, which must be totally cut off with a sharp knife.
Turn your attention back to the jumper valve, wipe it down until its clean and dry and then place a new o-ring inside. Pull it until you hear a distinct popping sound, which indicates it's been fixed in place. After this, tighten the screw and place the jumper valve back into the body of your tap.
Reassemble your tap and tighten all parts with a spanner, then turn the water back on from the mains. Before using the tap, allow air to come out by opening the tap slowly. When you start making use of it once more, be sure to check for leaks now and then, to know whether the o-ring was indeed appropriately installed.
How Much Will It Cost to Fix My Dripping Tap?
There's nothing that's done without a cost. The cost can be in the form of time or money. When it comes to repairing a dripping or leaking tap, as a homeowner, it's vital to know the amount of money involved. The cost of the process will typically include the purchase of tools and parts and labour costs. More so, depending on your location, labour rates might go higher or may be reduced.
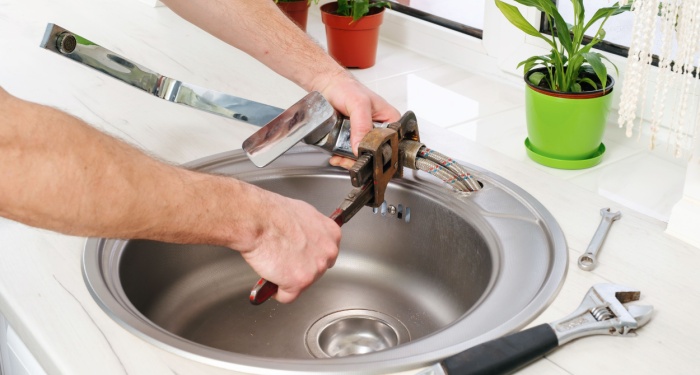
According to the national average, the cost of dripping tap repair is between £400 and £700. This will increase or reduce based on the cause and nature of the leak. For example, it may be less expensive to replace a faulty faucet or sink than it will be to have them replaced altogether.
Engage the plumber who will be working for you and find out if there's any additional related to the fixing of your faucet or sink. If you have an old faucet, expect to pay up to £700 for the repairs, or below £400 for a relatively new one.
Plumbers charge a flat fee or an hourly rate for their work, which ranges from £40 to £70 per hour.
How Much is a Replacement Tap?
Experiencing leakage or drips from your faucet might cause a lot of alarm, especially when you think of how much water is being wasted. As a homeowner, it's vital to understand that for some of the leakages that occur, fixing won't solve the problem entirely. Depending on what brought about the leak, your only option might be to replace the faucet, or a specific part located within the tap.
That said, a replacement tap costs between £25 and £15 for the part itself. And when you consider the labour involved, you should expect to pay between £150 and £300. More so, the hourly charge offered by plumbers typically ranges from £45 to £150, but in some instances, they can charge a total cost between £200 and £250.
The last point to note about labour are the two significant types of work you can employ, and how much each group usually charges. A handyman charges £45 per hour, while a maser handyman charges between £100 and £200 per hour for his services.
FAQs
Q: What size are tap connectors?
A: Tap connectors are in the form of flexible pipes that come in varying sizes. Some of these pipes have an inside diameter of 9 to 9.5 mm, while others re larger, averaging 12 to 12.5mm in interior diameter.
The larger the diameter, the higher the water supply through your pipes. All tap connectors with wider widths are used in areas where water pressure is low, or areas where there's an issue with the faucet or the tap.
Q: Is a dripping tap dangerous?
A: A dripping tap in itself poses no danger to you or your family, but it does have some effects that can cost you in the long run.
- High water bills
Having a dripping tap means you're adding a lot of extra pounds to your water bills. You are still charged for all the water that spills, in addition to the quantity you get to use.
Imagine living with a dripping tap for an entire year; that is almost equivalent to 20,000 litres of water going to waste. What's more, the monetary equivalent of that much water is an estimated 150 pounds coming from your account.
- Water damage
The most dangerous effect of a dripping tap is most likely this; water damage. When water leaks to places, it's not meant to be like your cupboards or sink joints, it can create a large water pool, which will eat into and erode all silicone joints.
This allows germs to thrive, fester, and multiply, weakening your sinks and vanities within a short period. If the water happens to leak into wooden floorboards, you will be faced with the extra cost of getting them fixed, as opposed to paying for just the dripping faucet.
- Health hazards
You can experience real health hazards with water from leaking taps. The water going onto your walls and floors provide the perfect habitat for mould growth, which consists of harmful contaminants. These contaminants, referred to as mycotoxins, are terrible for people living with allergies and asthma since it can alleviate their symptoms.
Q: What happens if you leave a tap dripping?
A: It is possible to leave your leaking tap the way it is, whether it is because you don't have the resources yet or you don't have an issue with pending a little more on water bills.
The primary reason why anyone with a leaking faucet should consider getting it fixed is that leaving it unattended to can cause structural damage to your home. If the leakage is left unchecked, it can affect your foundations, floors, and walls.
If it goes any further, you may need to find a new home to dwell on. It is better to solve leakages in their early stages, where you'll only be paying for the faucet, instead of waiting for it to affect other parts of your home that are very expensive to take care of.
Q: Can a dripping tap increase the water bill?
A: Yes, it can. Annually, leaking faucets lead to the wastage of nearly 10,000 gallons of water, equivalent to 180 showers. An average home uses 400 gallons of water daily, with every fun using up 2 gallons. Depending on the age of your faucet, it may even continue operations well after being turned off. The addition of a leaking faucet will lead to wastage of a lot of water, which will increase your utility bills by over 10 per cent every month.
Sources
- https://www.axa.co.uk/home-insurance/tips-and-guides/how-to-fix-a-dripping-tap/
- https://www.wickes.co.uk/how-to-guides/kitchens/fix-leaking-tap
- https://www.theguardian.com/lifeandstyle/2014/may/21/how-to-mend-a-dripping-tap
- https://www.plumberparts.co.uk/advice/general-plumbing/how-to-fix-a-dripping-tap
- http://www.leakingtaps.co.uk/
- https://www.plumbingforce.co.uk/youve-got-a-dripping-tap-heres-how-you-can-fix-it/
- https://www.appliancehouse.co.uk/blog/5-reasons-solutions-dripping-tap-appliance-house/

